Proper earthing is essential for electrical safety in homes, factories, and commercial buildings. A cast iron earthing pipe is one of the most trusted solutions for safe grounding. It offers high strength, long life, and stable performance in different soil conditions. When installed correctly, it protects people and equipment from electrical faults.
This guide explains how to install a cast iron earthing pipe in a simple and easy way. It also covers sizes, benefits, and common mistakes to avoid.
For related materials, must explore our other material categories too.
What Is a Cast Iron Earthing Pipe?
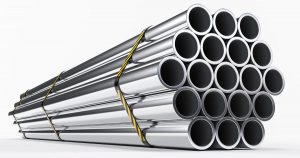
A cast iron earthing pipe is a heavy-duty pipe placed vertically into the ground. It safely transfers fault current into the earth. Cast iron is preferred because it resists corrosion, handles moisture well, and stays stable for many years.
These pipes are widely used in power plants, factories, buildings, transformers, and telecom installations.
Common Sizes of Cast Iron Earthing Pipes
Before installation, choosing the right size is important. Below is a general size reference used in most projects.
Cast Iron Earthing Pipe Size Chart
| Diameter (mm) | Length (mm) | Common Use |
|---|---|---|
| 40 mm | 2500 | Residential buildings |
| 50 mm | 3000 | Commercial sites |
| 75 mm | 3000 | Industrial installations |
| 100 mm | 3000 | Heavy electrical systems |
Note: Size selection depends on soil condition and load.
Step-by-Step Installation Process
Select the Location
Choose a moist area with low resistance. Avoid dry or rocky soil. Open space near electrical panels is ideal.
Dig the Pit
Dig a pit around 2.5 to 3 meters deep. The depth helps achieve better earth contact.
Place the Earthing Pipe
Insert the cast iron earthing pipe vertically into the pit. Ensure it stands straight and firm.
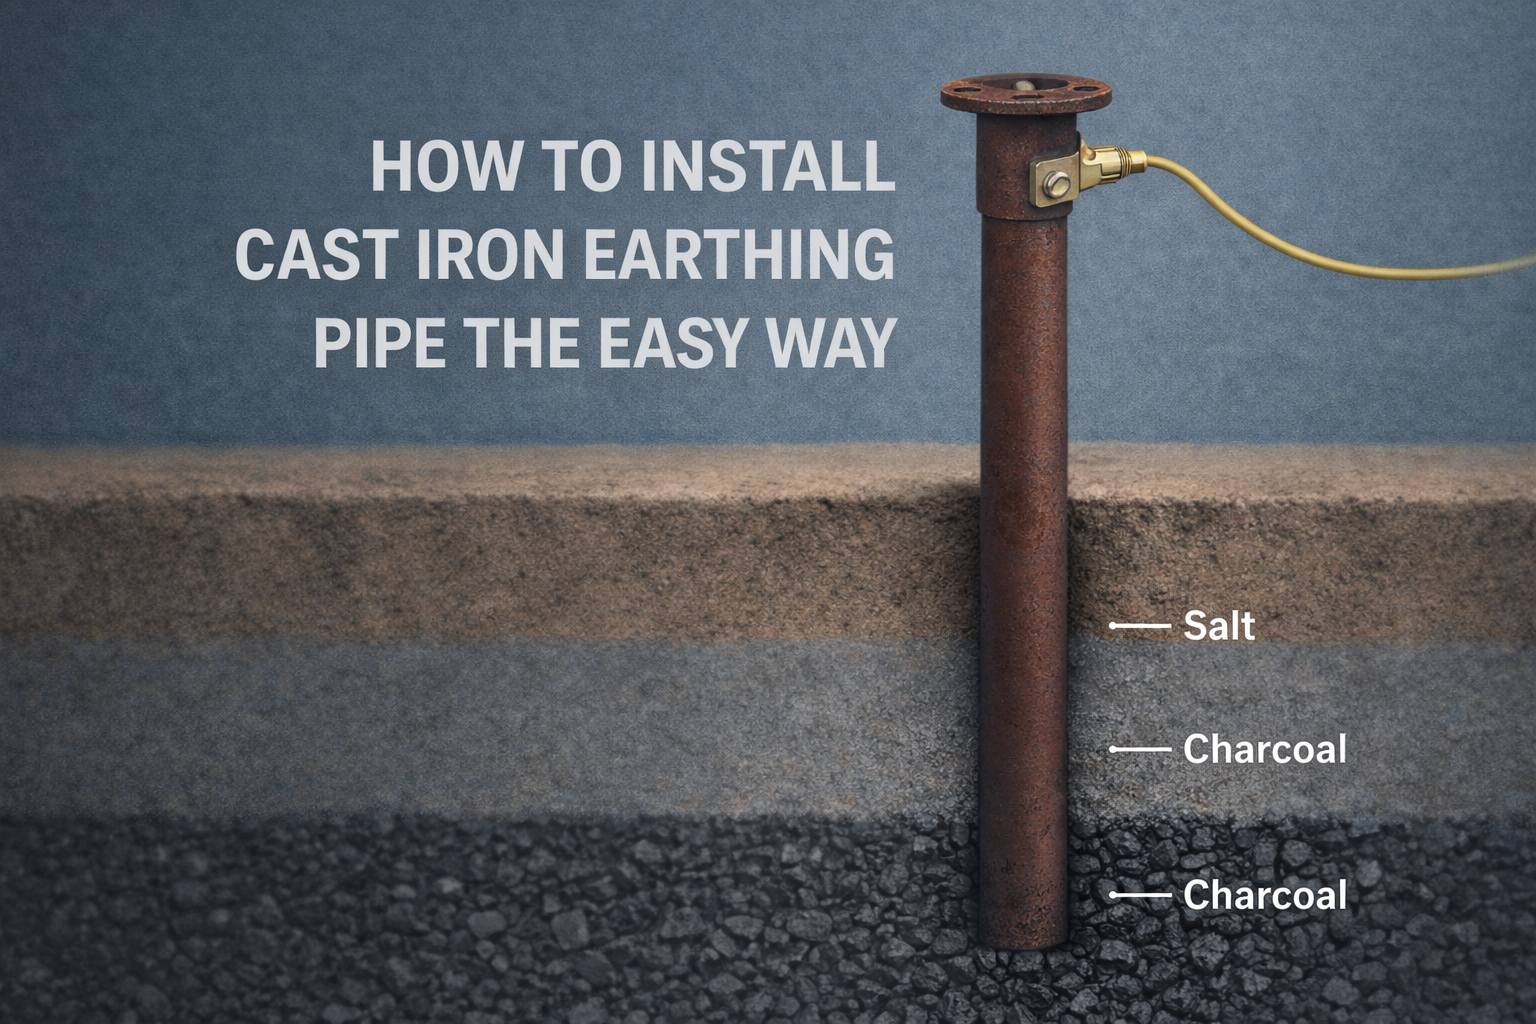
Add Earthing Material
Fill the pit with alternate layers of charcoal, salt, and soil. This improves conductivity and reduces resistance.
Connect the Earthing Strip
Fix a GI or copper strip securely to the earthing pipe using clamps or bolts. Tight joints ensure proper current flow.
Watering and Covering
Pour water into the pit and cover it with soil. Regular watering helps maintain low resistance.
Installation Material Checklist
| Item | Purpose |
|---|---|
| Cast iron earthing pipe | Grounding electrode |
| Charcoal & salt | Improve conductivity |
| GI/Copper strip | Connect electrical system |
| Clamps & bolts | Secure connections |
| Water | Maintain soil moisture |
Benefits of Using Cast Iron Earthing Pipe
Cast iron earthing pipes last longer than many alternatives. They resist rust and soil damage. Their strength prevents bending during installation. They also maintain stable earthing values over time, which reduces maintenance needs.
Because of these benefits, they are widely used in industrial and infrastructure projects.
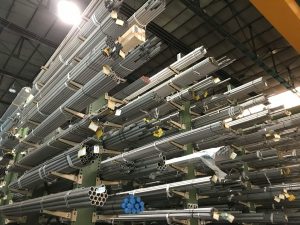
Industrial Supply and Bulk Requirements
Large projects often need consistent quality and bulk supply of earthing materials. Many contractors rely on experienced industrial suppliers like Udhhyog, which support electrical and steel requirements for factories, infrastructure, and commercial developments. Reliable sourcing helps maintain safety standards and timely project completion.
Common Mistakes to Avoid
Avoid shallow installation, as it reduces earthing effectiveness. Do not skip charcoal and salt layers. Loose connections can also cause high resistance. Regular inspection helps maintain safety.
Conclusion
Installing a cast iron earthing pipe the right way ensures safe and reliable electrical grounding. With proper depth, correct materials, and secure connections, earthing systems perform better and last longer. Choosing the right size and following simple steps can prevent electrical risks and equipment damage. For long-term safety, quality materials and trusted suppliers make a big difference.